Knoll Saarinen Marble Table Recoating: Full Strip-and-Recoat Process
The Eero Saarinen Tulip Pedestal collection, produced by Knoll since 1958, represents one of the most iconic achievements in twentieth-century furniture design. Saarinen’s stated goal was to eliminate what he called the “slum of legs” under chairs and tables. The result was the single-cast aluminum pedestal base topped with a marble slab that has graced dining rooms, offices, and showrooms for over six decades. Today, original and early production Knoll marble tables represent genuine collector-grade design objects. Replacing the marble top of a vintage round Saarinen table typically costs between $1,500 and $5,500 for stone alone, not including fabrication or replacement of the pedestal hardware.
What makes these tables particularly vulnerable to coating deterioration is the combination of age and environment. The transparent glaze coat applied at the factory, or added later as a protective treatment, is a polyester- or polyurethane-based polymer. Over 10 to 30 years, exposure to UV light, temperature cycling, humidity fluctuations, and cleaning chemicals causes the polymer to undergo photooxidative degradation. The coat yellows, loses adhesion at the edges, develops fine crack networks (crazing), and eventually begins to peel away in flakes or sheets. The marble underneath is almost always structurally sound. What has failed is the polymer layer, not the stone.
What We Found Before Starting Work
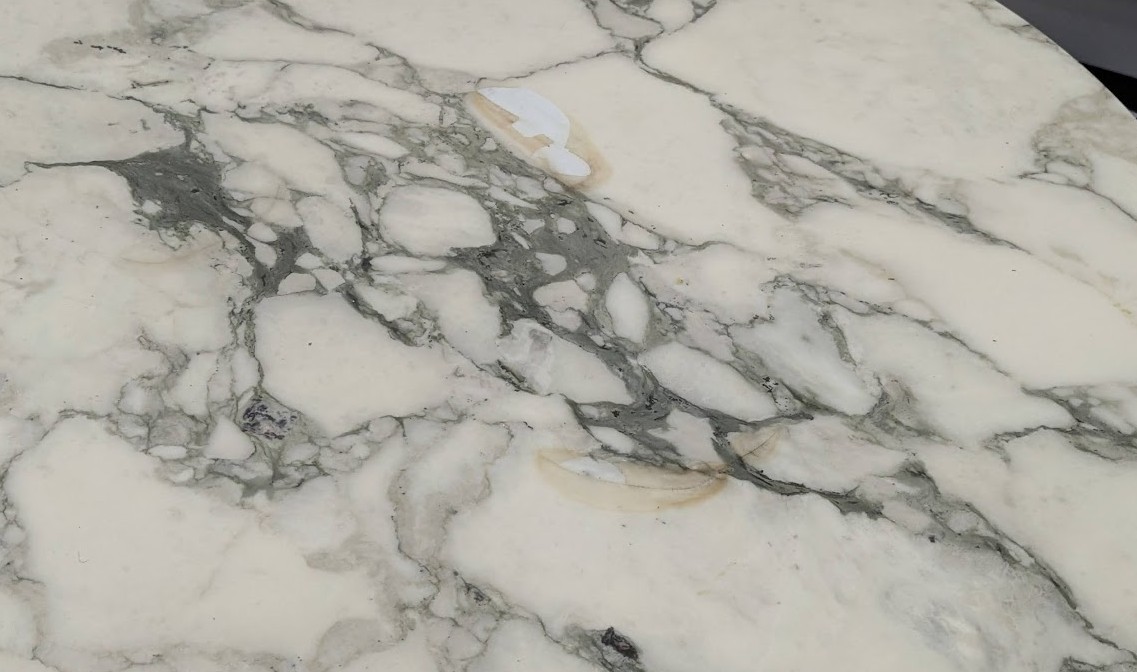
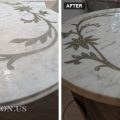
On this 47-inch round Knoll Saarinen table, the existing coat presented all the classic signs of end-of-life polymer failure. The surface showed peel-off zones, trapped color staining beneath the coat (where the polymer had allowed liquid infiltration before losing full adhesion), localized crazing, and edge lifting. Critically, a visual and tactile inspection confirmed the marble substrate was intact: no deep etching, no active crack propagation, and no spall damage. This is the ideal candidate for full recoating: the stone is sound, the coat has failed, and a complete strip-and-recoat will return the table to its original brilliant finish.
One important diagnostic principle: partial coat repairs are not a durable solution on polyester-coated marble. Once the polymer has begun to delaminate, the adhesion boundary is compromised across the entire surface, even in areas that still appear intact. Spot-patching over a failing coat creates adhesion discontinuities and optical inconsistencies that worsen rapidly. The only correct approach is full mechanical removal followed by a fresh coat applied to bare, properly prepared marble.
Stripping the Old Coat: Mechanical Delamination
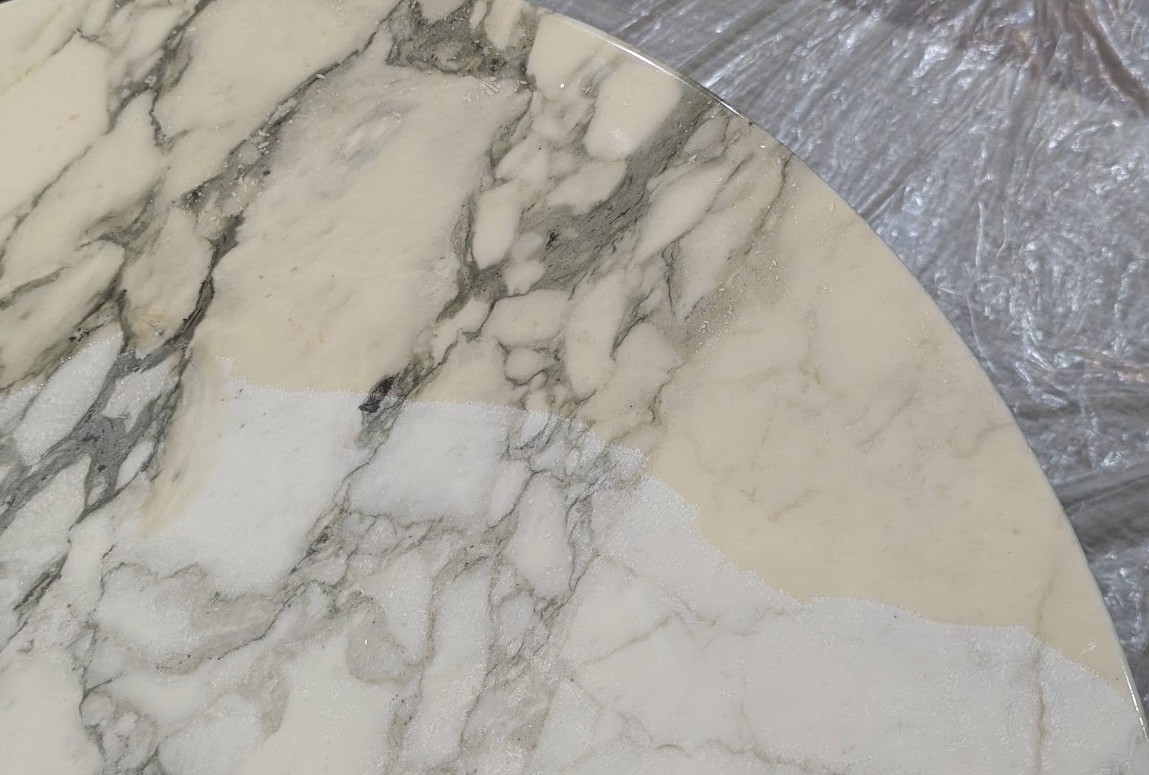
Old coat removal is the most labor-intensive phase of the recoating process, and it is where professional technique matters most. The stripping must remove the entire polymer layer without cutting into the marble surface or creating uneven relief that will telegraph through the new coat. The yellowed coat in the partially stripped image tells an important story: what appeared from above as a “white” or neutral-colored coat has in fact yellowed significantly. This is characteristic of non-UV-stabilized polyester resins applied in the 1980s and 1990s, which undergo accelerated chromophoric degradation when exposed to UV light through windows.
Chemical stripping agents are sometimes used by inexperienced operators but are inappropriate for marble: solvent-based strippers can etch the stone, force contamination deeper into the pore structure, and leave residue that interferes with new coat adhesion. Mechanical removal is the correct method for Carrara and Calacatta marble used in Saarinen tabletops.
Full Coat Removal: Down to Bare Marble
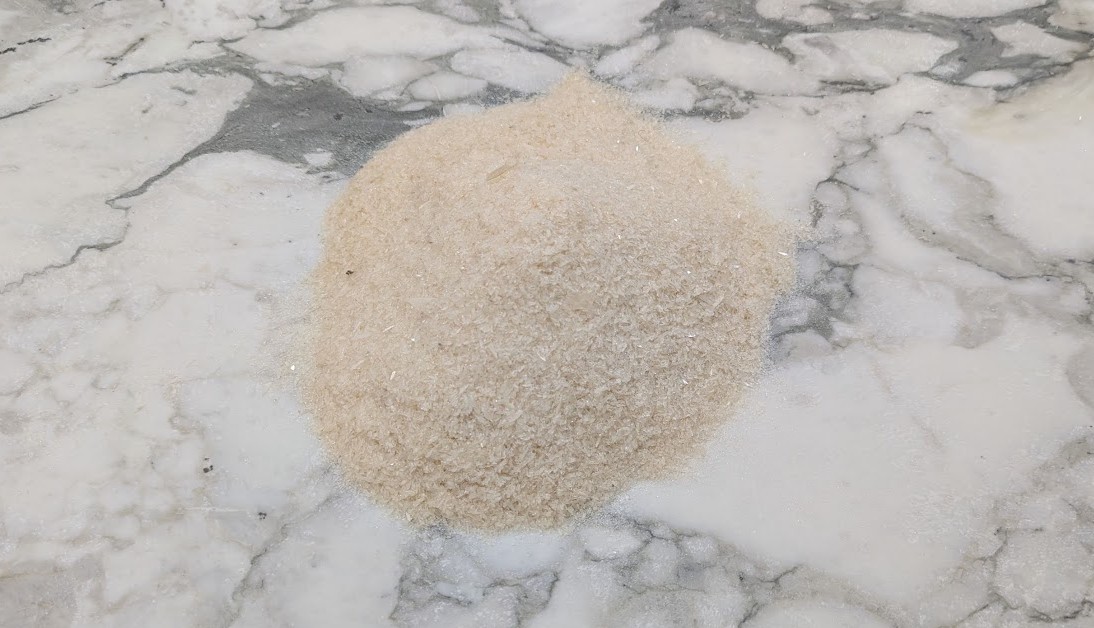
After full stripping, the marble is left in a matte, uniform state. The natural stone veining of this Calacatta slab is fully visible without the optical distortion of the degraded polymer layer. At this stage, the surface is inspected under raking light for any remaining polymer traces, micro-ridges from the abrasive process, or pre-existing stone defects that require attention before coating. Any chips or pit defects in the marble are filled with colored epoxy tinted to match the stone matrix. This is done before the transparent coat is applied, so the fill material is locked beneath the new layer and becomes invisible once cured.
The matte surface left by mechanical stripping is actually ideal for new coat adhesion. The micro-texture created by abrasion provides a mechanical bonding surface for the new epoxy, a condition called “mechanical anchor profile.” A polished or honed surface would require additional preparation to achieve the same adhesion quality.
Surface Pre-Treatment: Addressing Color Staining
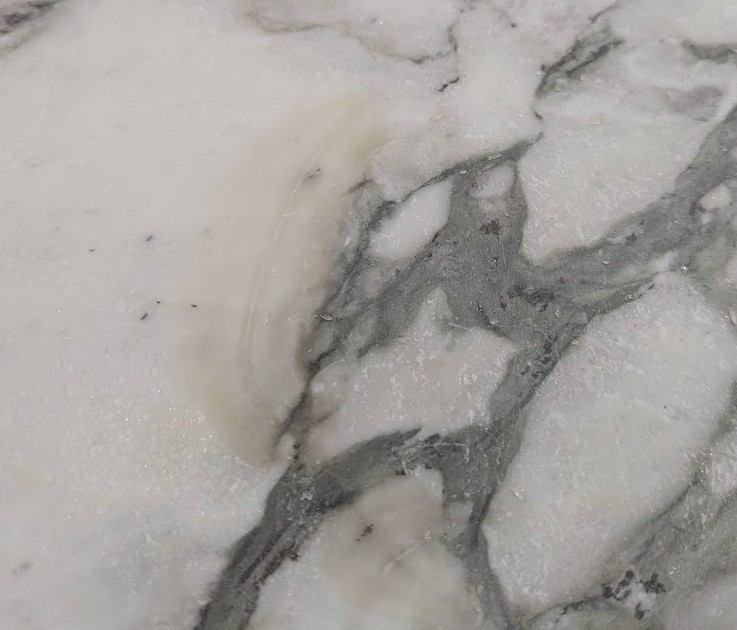
One of the most technically demanding aspects of marble recoating is stain management at the pre-treatment stage. Transparent polyester resin is, by definition, transparent. It will not conceal underlying color contamination in the stone. Any staining that remains on the bare marble surface when the new coat is applied will be permanently preserved under the cured epoxy, exactly as visible as it was on bare stone. This is not a limitation of the coating material; it is a fundamental optical property of transparent polymers.
For this reason, residual color stains must be reduced or eliminated prior to coating. Depending on the stain type and depth of penetration. Organic stains such as coffee, wine, and oils respond to alkaline poultice treatment; metallic stains require chelating agents, and biological stains require oxidizing treatments. The appropriate extraction method is selected. Only after the stain is reduced to an acceptable level, or fully removed, is the surface declared ready for the pre-coat cleaning and degreasing step.
Prepared Marble: Ready for Recoating
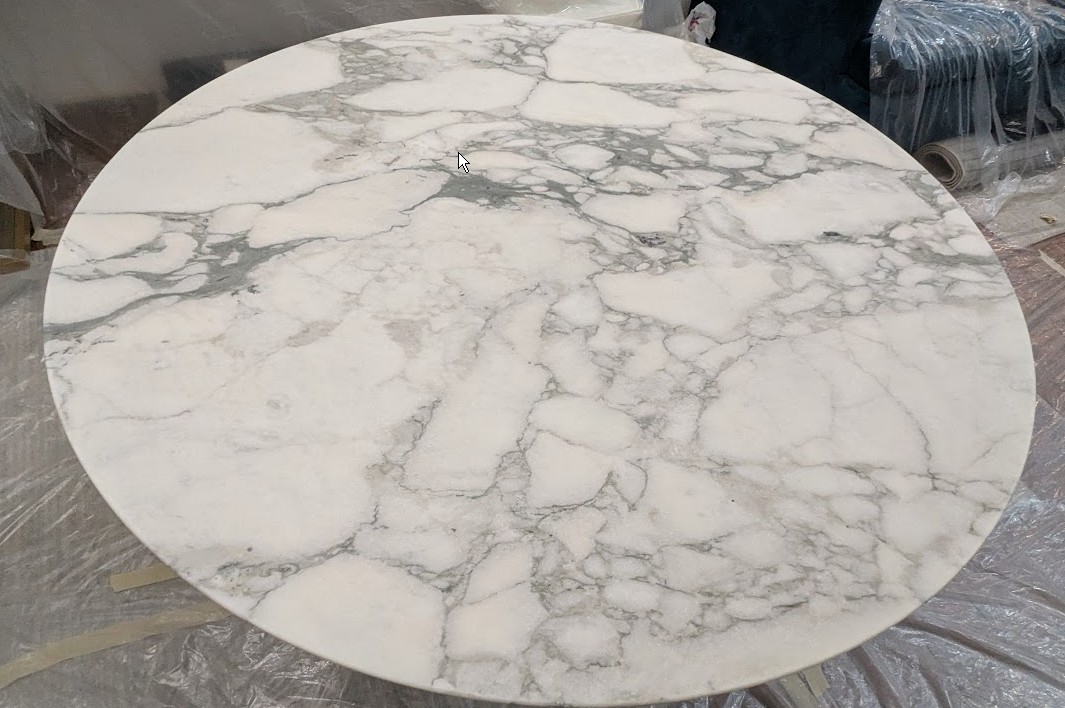
With stripping, stain treatment, and chip repair complete, the marble surface undergoes final preparation: a thorough degreasing with isopropyl alcohol to remove all traces of skin oils, abrasive residue, and any cleaning agents from the stain treatment phase. Any remaining moisture must be allowed to fully evaporate. Epoxy applied to a surface with residual moisture will develop adhesion failure, cloudiness, or blushing in the cured coat.
Room conditions are confirmed before mixing begins. The working environment must be between 75–85°F with relative humidity below 60%. Temperature affects the epoxy’s pot life and self-leveling behavior: in a cold room, viscosity increases, self-leveling slows, and air bubbles have greater difficulty escaping to the surface. In an overly hot room, the exothermic curing reaction accelerates unpredictably and the working window shortens. The floor and pedestal base are covered with plastic drop cloth to protect from drips and to reduce floor dust that could become airborne and contaminate the wet coat surface.
The Epoxy: Selecting and Mixing the Resin
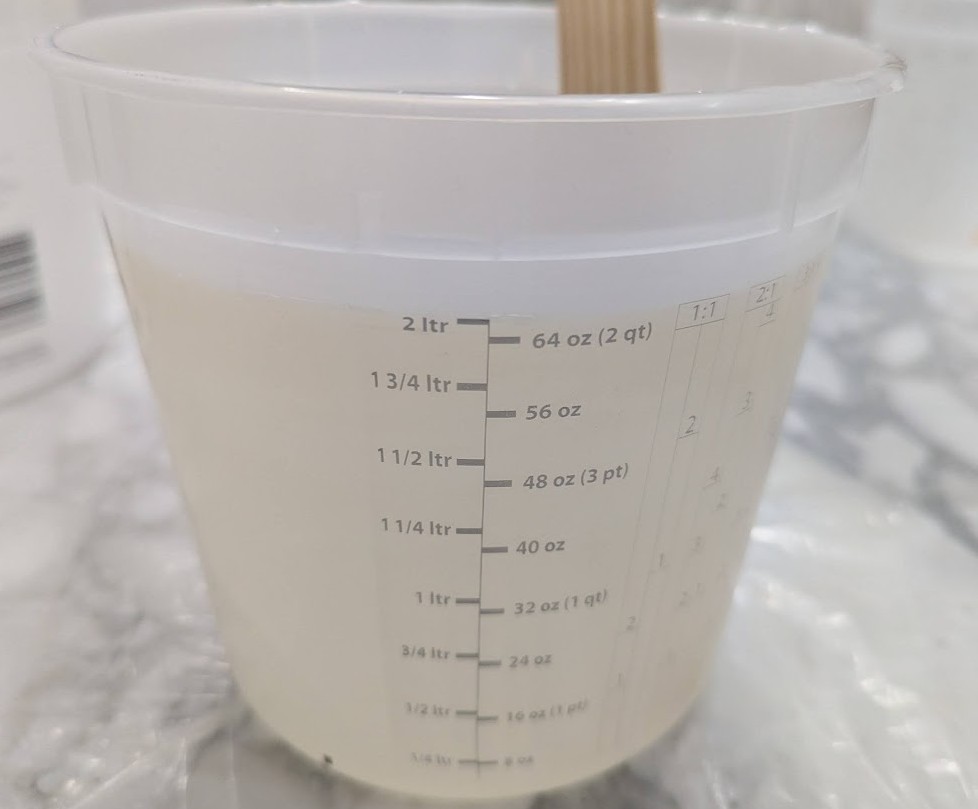
Not all epoxy or polyester resins are suitable for marble table recoating. The material must meet a specific performance profile: water-clear transparency that does not yellow with UV exposure, true self-leveling behavior at working viscosity, no volume shrinkage during polymerization (shrinkage causes the coat to crack or pull away from edges), and a working time long enough to allow proper distribution across the full table diameter. For a 47-inch round table (approximately 12.2 square feet), a two-liter (64 oz) quantity provides the standard coating thickness of approximately 1/16 inch, which is the optimal effective build for a tabletop application.
The two-component system (resin + hardener) is measured precisely by volume. Measurement error is the single most common cause of recoating failures by non-professionals: an off-ratio mix produces a coat that remains permanently soft, tacky, or flexible rather than curing to glass-like hardness. Even a 5–10% deviation from the specified ratio is enough to cause visible surface defects. Large-batch mixing also generates significant exothermic heat. Mixing more than needed in a single container accelerates the curing reaction while the material is still in the mixing vessel, dramatically shortening working time and potentially causing the mix to gel before it can be poured.
Application: Pouring and Spreading the Coat
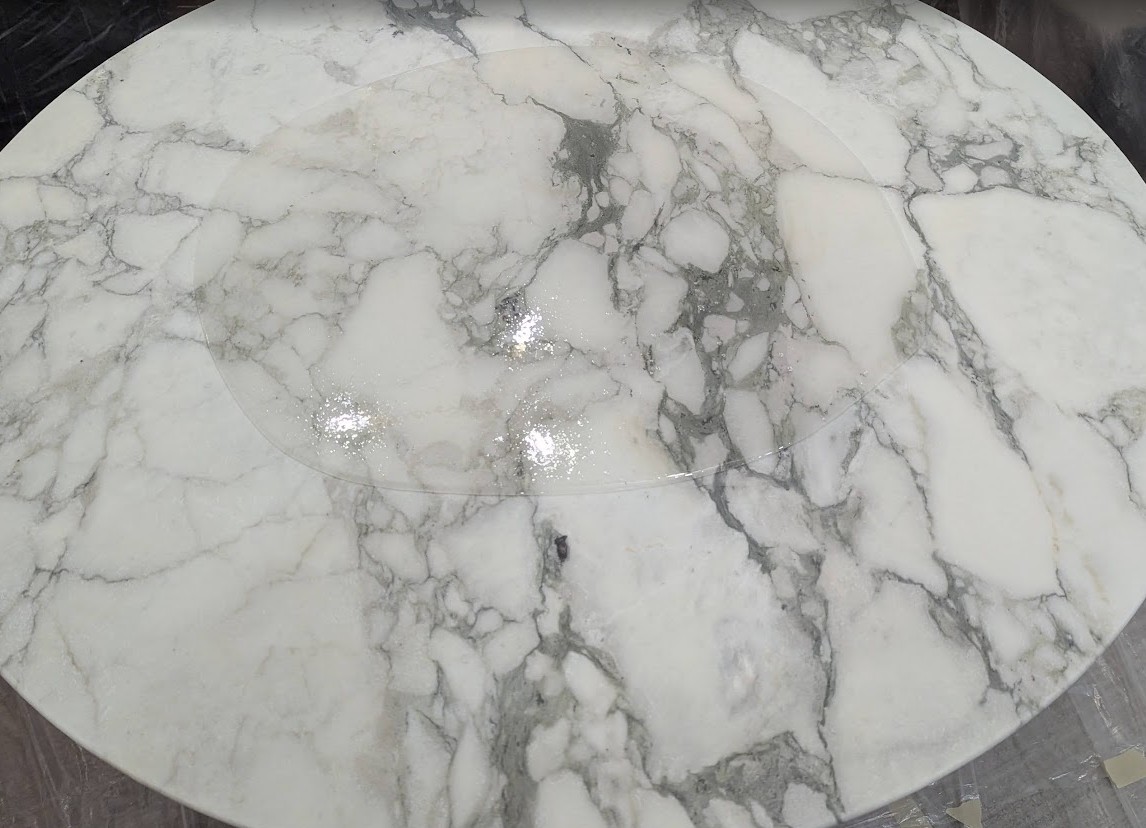
Application technique for self-leveling epoxy on a round marble table requires a specific sequence. The mixed resin is poured from the center of the table and distributed outward toward the edges using gloved hands or a spreading tool. A brush or roller is not suitable, as it introduces air and causes surface texture inconsistency. The self-leveling properties of the resin allow it to find its own level across the surface, but on a large table it requires active assistance to ensure even distribution before the material’s flow rate begins to slow as polymerization advances.
Air bubbles that rise to the surface during the initial spread phase are eliminated by passing a propane torch approximately 10–12 inches above the wet coat surface. The brief application of heat reduces surface tension, allowing trapped air to escape cleanly without leaving craters or pinholes. A hairdryer or heat gun is not suitable. The directional airflow displaces the liquid resin, creates surface ripple patterns, and introduces dust. Once the coat is spread and the surface is clear of bubbles, the room is sealed: no foot traffic, no open windows, minimal air movement for a minimum of 24 hours. Any dust particle that settles on the wet epoxy surface during curing will be permanently embedded in the finished coat.
The Result: High-Gloss Transparent Coat
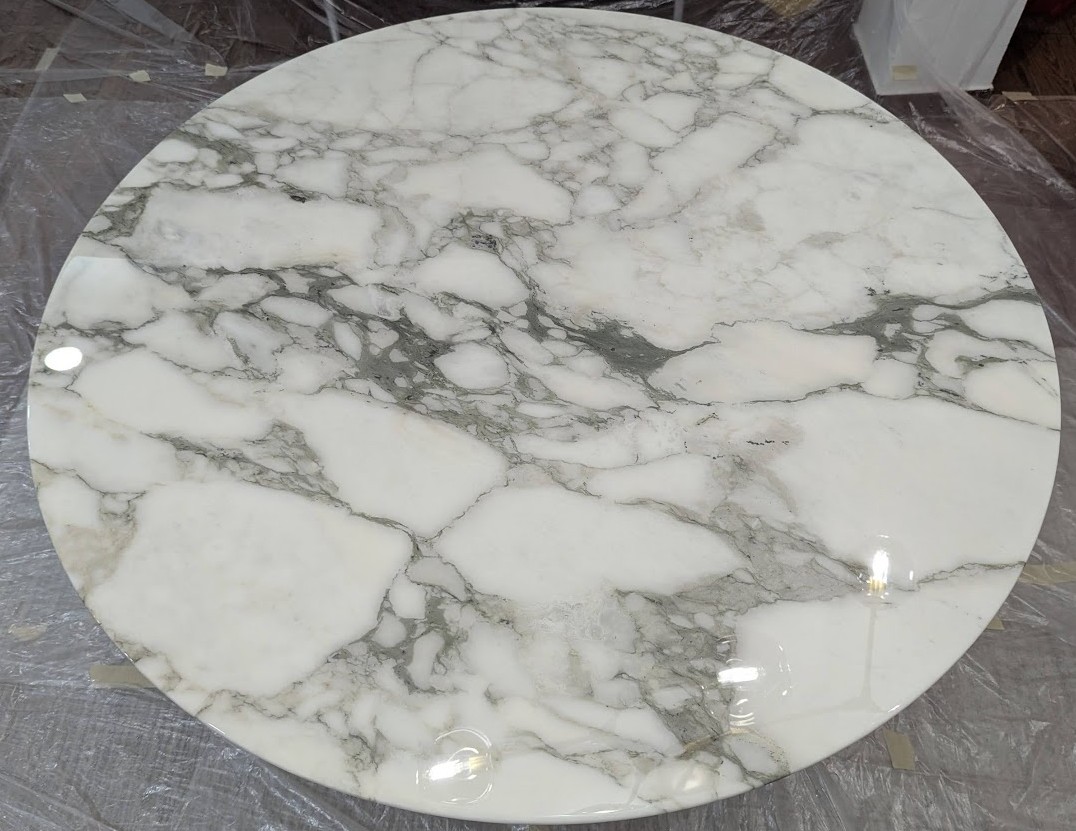
The cured transparent coat transforms the matte-stripped surface into the glass-like finish that defines the Saarinen table’s visual identity. Full hardness is achieved over 5–7 days at room temperature. Light use can resume after 48–72 hours, but the surface reaches its maximum chemical resistance, scratch hardness, and thermal stability only after the full cure period. During curing, the table should not be moved, covered, or exposed to temperature fluctuations that could stress the still-developing polymer network.
The economic case for recoating versus replacement is substantial. A replacement Knoll Saarinen marble top, sourced from KnollStudio directly, runs $2,000–$16,000+ depending on size and marble specification, not including delivery and installation. A professionally executed recoat by an experienced stone restoration technician restores the table to equivalent condition for significantly less, with a result that is visually can be indistinguishable from a new top. For vintage tables with original marble that carries sentimental or collector value, recoating preserves the original stone that replacement would discard entirely.
After the Coat: Care and Longevity
A properly applied and cured transparent polyester resin coat on a Saarinen table should provide 10–20 years of service under normal interior residential conditions.
The primary risk factors that can shorten coat life are the following:
- direct UV exposure from unfiltered sunlight (which causes photooxidative yellowing even in UV-resistant formulations over time);
- thermal shock from hot cookware placed directly on the surface (which causes localized thermal expansion cracking and delamination);
- and abrasive cleaning agents that dull and micro-scratch the coat surface. Use trivets for hot items, coasters for beverages, and a pH-neutral non-abrasive cleaner for routine maintenance.
Unlike natural marble, a cured epoxy coat cannot be re-polished, honed, or buffed back to clarity if it becomes scratched or dull. Localized damage such as a chip, a crack, or a scratch cannot be patch-repaired in a way that is invisible; the only durable corrective option is full re-strip and recoat. This is not a disadvantage unique to epoxy. It is a characteristic of all polymer coating systems on stone. Understanding this up front allows the owner to make informed decisions about use and care.
We service marble and stone tables throughout Brooklyn, Manhattan, Queens, the Bronx, Staten Island, Long Island, and surrounding New York areas. If your Saarinen, Knoll, or other marble table shows signs of coat degradation such as yellowing, peel-offs, crazing, or delamination, contact us for an estimate.
Submit Your Order or Ask a Question:
You'll get a response within a few minutes or hours and usually not longer than 24 hours.