Sink Installation and Re-attachment Service
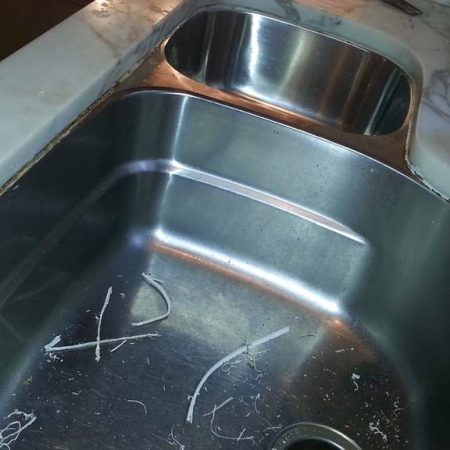
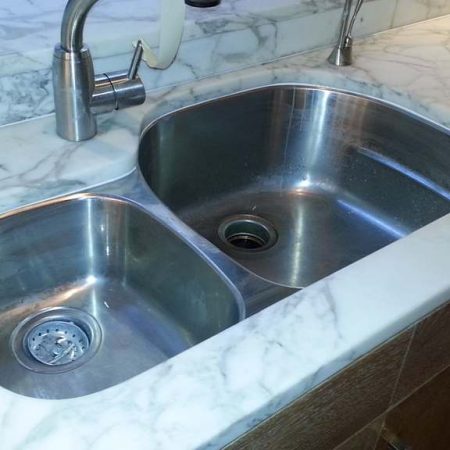
Fallen Down Undermount Sink Installation.
To reattach an undermount kitchen sink seamlessly, we follow all or some of these steps:
1. Remove Old Sink: Unscrew a sink brackets with a screwdriver, disconnect drain pipe and carefully remove the sink from the stone countertop.
2. Clean Surfaces: Use a razor blade to scrape off any residual caulking from both the sink and the underside of the stone countertop. Wipe with acetone or spirit.
3. Mount New Sink: Glue 4 anchor bolts with epoxy by sinking into existing holes (or drill new holes 1/4″-3/8″ diameter) and put on brackets to the screws with screw-nut.
4. Apply Caulking: Use a caulking gun to apply a line of silicone around the rim of the sink.
5. Reposition Sink: Move the sink onto the cutout, ensuring proper alignment. Use a wire wrapped through the drain strainer to assist in pulling it up into place.
6. Secure Sink: Tighten screw-nut evenly, ensuring the brackets in the right position to the rim of the sink.
7. Final Touches: Run a finger along the rim of the sink to remove excess and smooth out caulking, adding more as necessary.
8. Reconnect and Test: Reconnect drain pipe and turn the water back on. Allow 1-2 hours for the silicone to set before using the sink again.
Following these steps diligently ensures a secure and professionally reattached undermount kitchen sink.
How to Address a Loose Undermount Sink on Your Stone Countertop
Minor looseness may allow for a DIY fix, while significant detachment warrants professional assistance.
Immediate support is essential to prevent further damage. Use temporary measures like wooden blocks/shims or old books to prop up the sink until it can be properly secured.
Check the mounting brackets that typically secure undermount sinks. Tighten any loose or bent brackets to ensure proper support.
Complete reattaching the sink involves thorough removal of old silicone from the sink rim, resetting anchor bolts to fresh epoxy, applying new silicone and tightening on new brackets.
Once reattached, take precautions to prevent future issues. Avoid placing excessive weight on the sink and handle it gently to avoid strain on the mounting anchors and brackets.
Before & After Countertops Sinks Repair
Improperly Installed Buckling/Sagging Sink
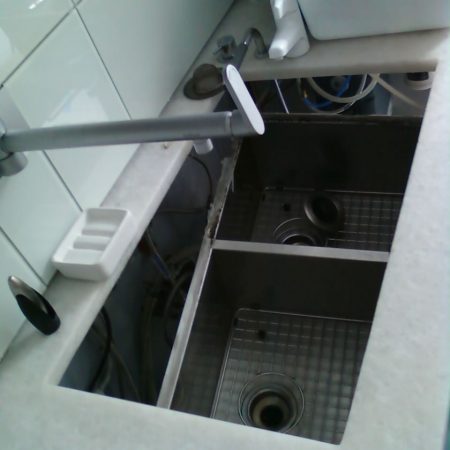
The proper sink installation should include the holes drilling, brackets mounting an more…
Double Stainless Steel Sink Installation
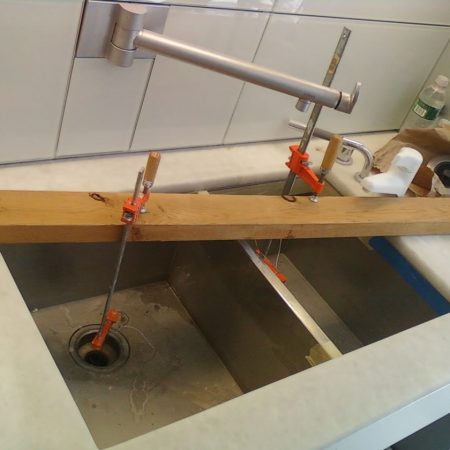
For temporary propping and for convenient sink mounting we can use the wooden bar (2 more…
Dull Black Marble Sink Vessel
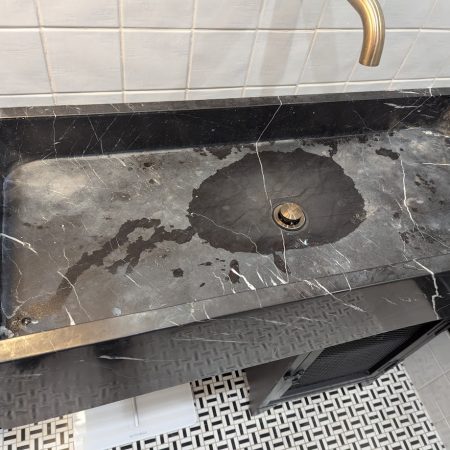
This black marble vessel sink suffered from severe etching damage caused by acidic s more…
Polished Black Marble Sink Vessel
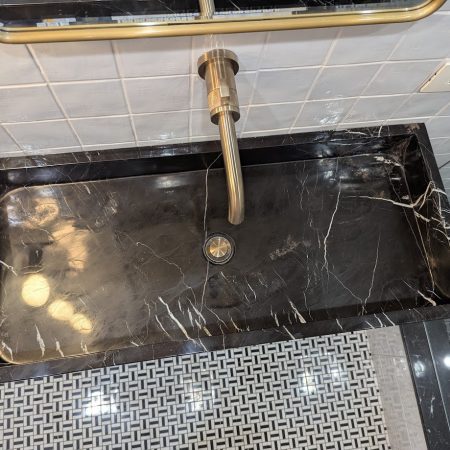
The black marble vessel sink was expertly restored through professional honing and p more…
Rectangular Sink Mounting to Carrara Counter
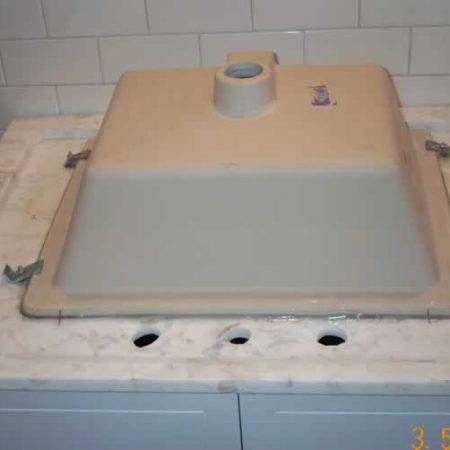
Before siliconing and final mounting we finding the middle place where the sink will more…
White Carrara Vanity. Sink Installed
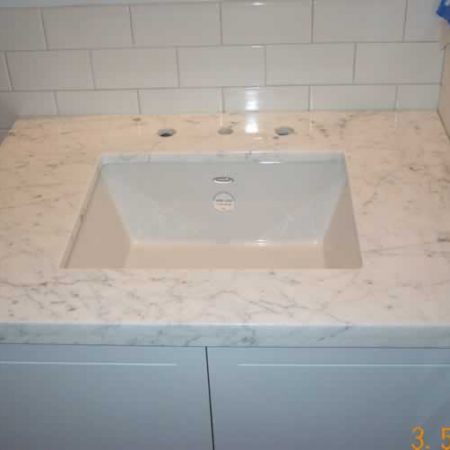
White Carrara sink just installed to vanity and ready to connect plumber fixtures.
Vanity Oval Sink Attaching and Siliconing
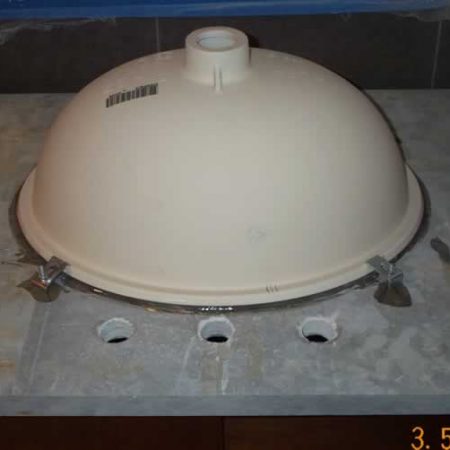
Before the final installing a vanity on cabinet we turning upside down the piece, po more…
Oval Sink Installed on Limestone Vanity
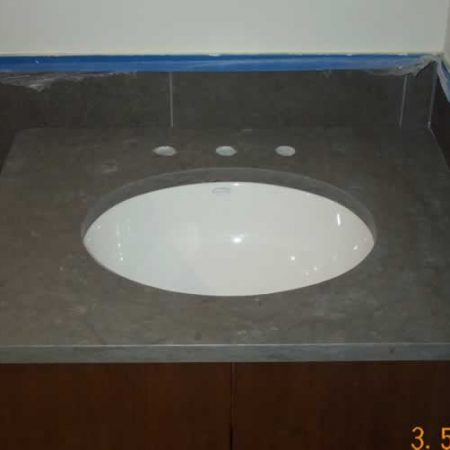
Oval sink just installed and caulked around snki rim (to water seal).
Black Granite Sink White Grout Seams
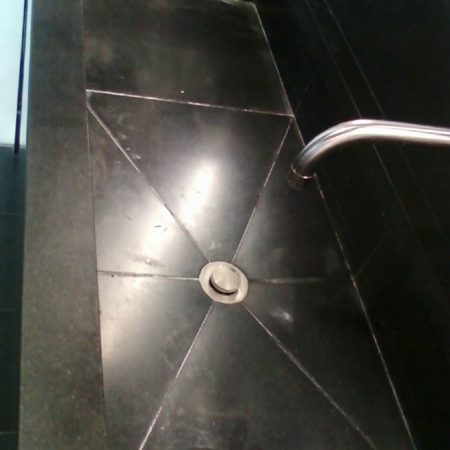
This custom built rectangular black granite sink had joins with white calcium deposi more…
Black Absolute Granite Sink Newly Grouted
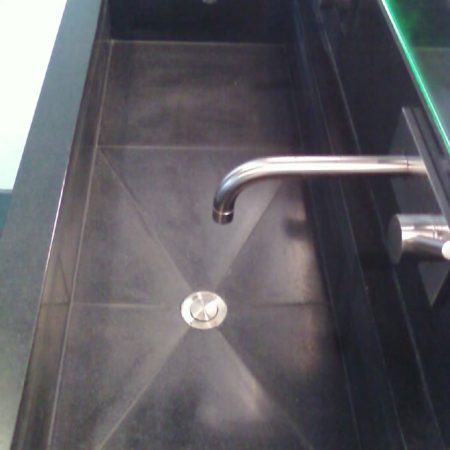
We clean the sink, removed old grout and put new grout into joints.
Submit Your Order or Ask a Question :
You'll get a response within a few minutes or hours and usually not longer than 24 hours.

